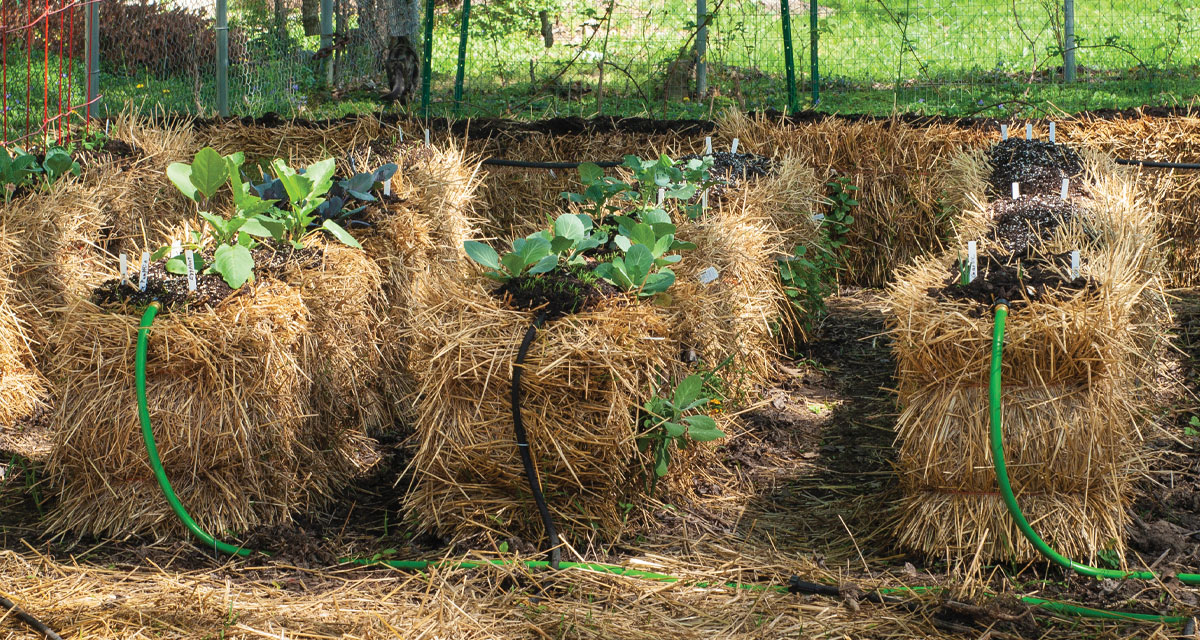
Finally, there is an answer to an organic gardener’s prayers—straw bales! It’s clever when you consider that this medium holds in moisture, prevents weed seedlings from forming, and is the ultimate vessel to grow herbs, vegetables, flowers, and various ornamental plants. With the aid of water, and a small amount of potting soil and fertilizer, the straw gradually breaks down, providing well-needed nutrients throughout the growing season. It is the perfect solution for anyone who has poor soil conditions, lacks mobility, or seeks an economical means to enjoy the fruits of gardening!
The Difference between Hay and Straw
The medium will make a difference in the outcome of your endeavor; therefore, use straw. Hay is a grass, which comprises alfalfa. The attached seeds will result in the germination of unwanted weeds.
Straw, on the other hand, is made from the leftover stalks of oats and wheat. Since the tops and the seeds are removed during the harvest, straw is essentially a weed-free natural raised bed! However, ensure your purchase is, in fact, organic and not sprayed with pesticides and other harmful chemicals.
Getting Started
Find a location that receives six to eight hours of direct sunlight and near a water source! Be sure of your spot; bales soaked across the next 12 days will be unmovable! To prevent weeds from growing into the bundle, place a barrier, such as a tarp or cardboard underneath. If arranging multiple bales, think about accessing the middle. You may consider forming the shape of a “U” or “L” As the decomposition process occurs, expect shrinkage. One option is to fill in the open spaces with additional compost.
Days One to Three: The conditioning process takes roughly two weeks. The goal is to transition each bale into a proper environment for growing plants. Begin by soaking each bale thoroughly with water, and repeat on days two and three. With help from the sun, the microorganisms will activate and raise the internal temperature.
Days Four through Six: Across three days, sprinkle over each bale one full cup of ammonium sulfate (21-0-0). A source promoting high levels of nitrogen will increase decomposition while conditioning. Then, water thoroughly!
Days Seven through Nine: Cut the fertilizer amount in half, and afterward, water!
Day Ten: Just water the bales to maintain levels of moisture!
Day Eleven: Feel the bale. If it’s too hot, it requires more water. Wait one more day! Warm bundles are adequate hosts for plants.
What to Plant
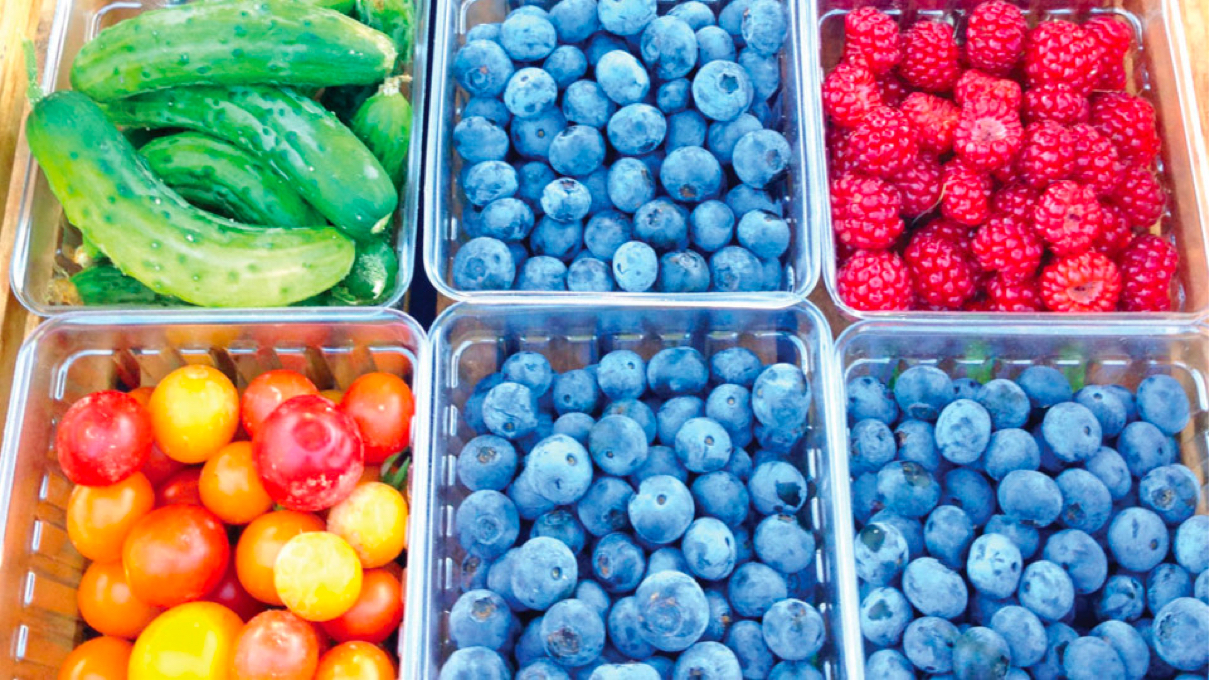
Creativity opens the door to planting various herbs or an alternative space to grow water-consuming plants such as melons, pumpkins, or squash. Due to the medium and shape, consider using the ready-made pockets to grow potatoes or strawberries. Straw bales are an inexpensive solution to increase your yield of cucumbers or beans. You’ll need wood stakes tall enough to anchor into the ground. (Be wary of using metal. It can heat and scorch your crops.) Other options are peppers, eggplant, lettuce, herbs, zucchini, and squash.
If you wonder how many plants could accommodate one bale:
- two or three tomato plants (depending on your choice in using stakes or cages)
- two squash plants
- six pepper plants
- six cucumber plants
- ten to twelve strawberry plants (using the sides, too!)
Maintenance
Think of your straw bale garden as a raised bed. It requires water, especially in the heat of the late summer, and perhaps daily. Gardeners who dislike feeding the wildlife may want to invest in chicken fencing or bird netting for the wandering rabbit, raccoon, or larger animal.
Straw bale gardening has a proven success rate without the fear of overwatering, the necessity for crop rotation or amending the soil. You can increase the number of bales or decrease it, depending on the amount you wish to grow. At the end of the season, allow the bales to decompose. The result is compost, a healthy mulch to nourish plants!


