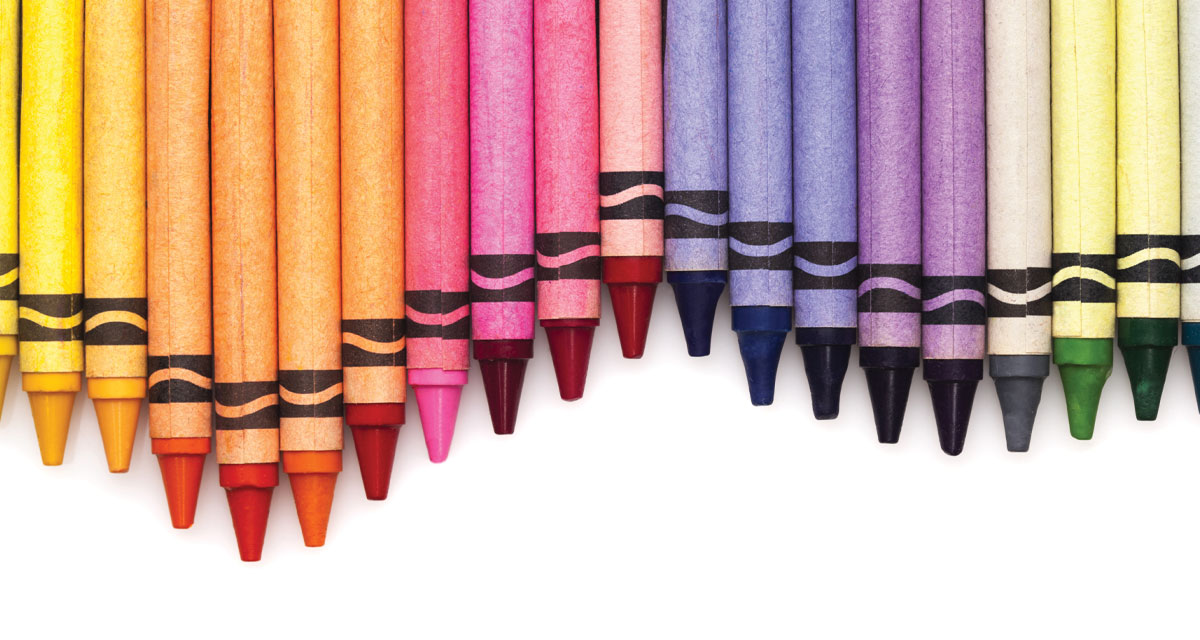
Crayons aren’t just for coloring anymore. They are also useful materials in creative and fun crafts that kids of all ages (including adults) can enjoy. Whether they are melted or whole, crayons are versatile materials that can be made into slime, ornaments, and more, including these crafts.
Ways to Melt Crayons
If you are planning on completing a DIY project with melted crayons, it is important to know how to safely melt the hot colored wax. There are a few common methods for doing so.
- Crayons can be placed in an oven between 150 and 200 degrees Fahrenheit, no higher. Place them into a cupcake tin, onto a baking sheet, etc. and it should take about 15 -20 minutes for them to melt. Quick tip: if you are molding the crayons into a certain shape, such as a heart, go ahead and place the crayon into the heart-shaped mold before putting it in the oven.
- Use a hairdryer on the high setting. However, be aware that with this method, the wax will fly in many directions. Always hold the hairdryer about 3-5″ from the crayons. You can also use the hairdryer to create a cool piece of artwork. Blow dry and melt the crayons into a certain pattern. One favorite is to hot-glue the crayons in a line at the top of a canvas and melt the crayons, allowing the hot wax to run down the canvas.
- In a microwave-safe container, break crayons into small pieces and microwave on high for about 1½ to 2 minutes, stopping every 30 seconds to stir.
- Create a double boiler with two pots, one inside the other and water in the bottom pot, or use an actual double boiler on the Lay crayon pieces or shavings into the top pot and bring the water below to a boil. Stir occasionally and remove from heat once they have melted.
- Arrange the crayons between two pieces of wax paper. With your iron on the lowest setting, melt the crayons with continuous movement of the iron. Check frequently to avoid burning.
Salt Dough
Materials:
2-3 chopped crayons
1 teaspoon vegetable oil
1 cup salt
2 cups flour
1 cup water
Directions:
- In a bowl, mix together the salt and flour. Set aside.
- Pour the vegetable oil into a saucepan and place onto the stovetop with low heat. Add the chopped crayon pieces to the oil. Be careful not to let the oil get too hot. Slowly stir in the cup of water.
- Continue stirring and add in the dry mixture of salt and flour. Stir until the dough begins to lump together.
- Once done, remove dough onto parchment paper and cool.
- Knead the dough until smooth.
- Have fun with the salt dough mixture, creating fun shapes and designs with cookie cutters. Also, you can turn it into ornaments. All you need to do is add a hole for hanging at the top of your creation. Set your creations out to dry and harden for a few days and then you are all set.
Drip Art
Materials:
Hot glue gun
Crayons
A blank canvas
Directions:
- Remove the paper wrap from the crayon. Place inside the hot glue gun as the glue stick. Allow the crayon to melt and soften.
- Use the glue gun just as you normally do, and drip the melted crayon onto the canvas, creating the design of your choice.
- Let the wax harden and dry.
Coasters
Materials:
Broken crayons
One soup bowl
One flat bottomed ramekin or small dish
Mod podge
Paint brush
Directions:
- Add the crayons to the soup bowl and microwave for 2½ minutes, checking on the crayons every 30 seconds to prevent them from burning.
- Once the crayons have melted into liquid, remove from microwave and flatten by pushing the ramekin or small dish on top of them. Set aside to cool.
- Once cool, remove the ramekin and pull off any excess crayon material that does not fit into the pattern.
- Using the paint brush, cover the entire coaster with a thick coat of mod podge and let dry.
DIY projects are one of my favorite things to do, especially if they are completed with unique materials. A simple Pinterest or Internet search can reveal more crayon ideas, but these three are quick, easy, and enjoyable for everyone. Happy crafting!